Sunday, August 11, 2013

First Day Activities


In an earlier post I promised I would share these first day of school activities on Friday.   Okay, I'm a day late, but I stayed at school until, you're not going to believe this,  9:30pm.  I just had to get it all in order!  My family all had things to do, so I took advantage of that and got a lot accomplished.  Here are the activities I promised.

Activity #1  First Day Jitters' Glyph:
After reading the book, The First Day Jitters by Julie Danneburg, we make a glyph describing ourselves and our feeling about the first day of school.  I made patterns of items (dress, t-shirt, pants, arms, legs, speech bubble etc.)  needed to make a girl or a boy.  I put out a set of patterns and various pieces of construction paper per table.  Students view glyph directions on the smart board and trace, cut and paste to create their own First Day Jitter person, complete with speech bubble and comment about first day feelings. 

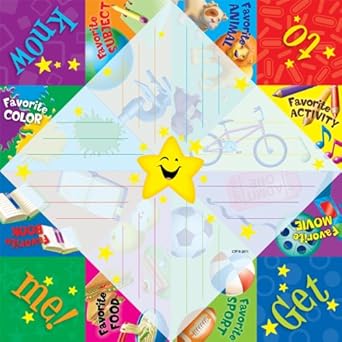
Activity #2 All About Me Cootie Catcher
I found these at my local teacher supply store.  It was a last minute purchase, and well worth it.  No prep or set up needed and it kept the kiddos entertained for a good 30 minutes!  Click on the first picture to go to Amazon to buy one.  See the pictures below of my kiddos getting to know each other on our first day, using these great All About Me Cootie Catchers.


Saturday, August 10, 2013

Linky Party for First Day of School Plans

For me, the first day of school as already come and gone, but for many of you it is just around the corner.  So, I am happy to be linking up with Deanna at Primary Punch to share a brief version of our First Day of School Plans.  Many of the things I list, are discussed more fully in earlier blog posts.

 Good luck to you all and I hope you get some great ideas for the first day, from everyone's posts!!!


Click here to get your FREE copy of  My "Me Bag"
Click HERE to go to my earlier blog post for more details.


Click to go to my DIY: Student Binder Post
 

Sunday, August 4, 2013

First Day of School

So the big day arrived on Thursday, August 1st - The First Day of School!   It began early, with me taping balloons to each student desk and setting out gift bags.  For a fun and exciting First Day activity to get to know each other, I typed up questions, rolled them up and stuffed each one inside a balloon.  This is a great activity to break the mundane "rules and procedures discussion" when you see that you're losing their attention.  Throughout the day, I called on 2 or 3 students to pop their balloon and read and answer their question that was inside.  They were so excited that morning to see them on their desk, and the anticipation to pop their balloon continued all day.   When they became overly talkative, I told them that the next people to pop their balloon would be those listening and paying attention well. 

Its a great incentive for the behavior you need on the first day of school! 
 
 
I mentioned that I set out a gift bag on each desk as  well. Every year I gather white lunch bags, colorful ribbon, 20 to 25 shiny new pennies, Smarties, Starbursts, colorful erasers, a snack and a new pencil.  I like the pencils that say something like "3rd Graders Are #1!"  I pick those up at a nearby teacher supply store.  I print a message that explains what each item inside the bag is for. Then I attach it to the bag with ribbon.  This message is one of the many things included in my Beginning Days of School packet.
 

1.  Here are the "eatable" items that go inside.
2.Here are all of the items that go inside and the white lunch bag.
I just had to include a picture of my kitty, Mrs. Meow Meow, as she is attempting to steal the penny.  This was after several attempts at "pouncing" on all of the items as I was trying to photograph them.  She gets so interested in whatever project I am attempting!
 

3. I fold down the bag, line up the printed message, use a hole punch to punch two holes in the message and bag, then run a ribbon through the holes and tie it into a bow (about 2 foot of ribbon for each bag).

Seeing these items on the their desk the first day, helps entice those shy students inside the door.  My parents are grateful that they don't have to force their child from their clutches, but instead, they are forgotten about as the student can think of little else, except "What's inside this bag?" and "I want to touch that balloon."

The top picture above shows their new student agendas and a word search on the desk along with their gift bag and balloon.  (You can read about everything I include in my student agendas in an earlier post.)

I also have two other items on each desk that you may recognize if you follow my blog or my TPT store; the FREE Back to School Bookmarks and another FREEBIE, my "Me Bag".  You can get each of these at my TPT store and I have featured my Back to School Bookmarks in a recent blog post.  There are three different styles.  It has been a while since I mentioned my "Me Bag", so I'll fill you in here. 

In addition to popping the balloons a couple at a time, throughout the day, we share our Me Bags, a couple at a time, throughout the day also.  On the night before the first day of school, our school always has "Meet and Greet" night for the students and parents to come by and have a quick look at the classroom, their new teacher and see a few of the students that will be with them for the new year.  For those that attend, they can also take home a folder filled with informational papers (homework for the parents) and their "Me Bag" (homework for them).  I tell them that if they want to be one of the first students to share, then go home and fill their bag with items they can show, as they tell their classmates a little bit about themselves on the first and second day of school.  (I can never get these all done on the first day, and neither can I get all of the procedures fully taught and practiced in just one day.) This year I received a brand new document camera, so on the first day, I put my students "on camera".  They were able to stand in front of the document camera, and their classmates were able to see them on the smart board as they spoke and showed their precious items.  Some things they brought included, favorite toys, pictures, awards and medals. Click on the picture below to grab your FREE copy of My "Me Bag".


If you have any questions, feel free to ask in the comment section below. 


In the next blog post scheduled for Friday, I'll share two of the first day activities we did.  Hint:  If you decide you want to do it too, you'll need the book, The First Day Jitters by Julie Danneburg.

Good luck, and enjoy your last days of summer.  In those last few days, I made sure I got to eat out at my favorite restaurants for lunch (especially those only open M-F), since we never get to do that during the year! Ha! Ha! 


Classroom DIY
 

Sunday, July 28, 2013

DIY: Beginning of School Teacher Gift: Recess Baskets

Every year, on the first day of school, my daughter and I bring a gift to her  new teacher.  I have found not only does that bring a smile to her teacher's face, but I believe it helps calm the first day jitters for my daughter as well.   Our gift is generally the same each year - recess equipment and a personalized container that matches the teacher's room décor.

I found the playground balls at Wal-Mart and the other items at Target.  The ones at Target were on clearance, so definitely a good buy ($1 to $3 for each item.)  The container was a bit more difficult to fine, a summer-long hunt, but a good buy as well.

 If you choose this project, you want to consider not only the size of the container, but the weight as well.  Once it is filled with recess items, you don't want it too heavy for a student to tote.  Also, you want it large enough to hold all the items, but not too large so that it will take up too much space in the classroom.  I was so excited to find this green bucket/basket at Wal-Mart for only $7.  It is made of a light-weight, flexible plastic. 

 
In the past, I've gotten a friend to do the personalizing for me, but this year I plan to use my new Cricut.  My parents actually gave this to me as a Christmas gift two Christmases ago, but I just haven't found the time (I wonder why) to play with it.  So this will be my second project using it.  I chose the pink vinyl to compliment the green the container. 
 
The container I had been using in my own classroom was in need of a serious makeover, so I decided to make one of these for myself.  The sale prices were so awesome, that I also bought additional recess supplies for my students as well. 


Here are the two finished Recess Baskets, but as you can see, the name of on my daughter's basket is covered up.  I did that on purpose.  At the time we made them, my daughter did not know which teacher she was going to get. 

 
We, the teachers, have already begun pre-planning, and my daughter's teacher has called to let her know that she is in her class.  The surprise is out, so now I've been able to put her name on her basket. 
 
Its already for the first day of school! 

 
Classroom DIY

Friday, July 19, 2013

Friday FREEBIE and Beginning Days of School Packet


I have less than one week before I go back for preplanning.  If you've been following my posts, you'll know that I am already in planning mode, working on items for the start of school.


 This packet includes: class posters for common procedures around your room, including a class rules poster. It includes 4 great first day activities and fun homework activities! There is a weekly behavior chart, behavior incentive charts, a student information sheet and 5 weekly themed newsletter formats including Christmas and Valentines' Day.

For each product, there are full explanations as to how to implement it. For example, I've included behavior incentive charts and awards and have provided a full explanation for implementing this behavior management system. Other detailed descriptions are also included.
 
If you are just beginning to teach or if you are just looking for something new, I think you'll love this!
 
********************************* 

 I have a great FREEBIE I want to share with you.  This newsletter template is one from my Beginning Days of School packet featured above.


If you can use it...

  1. follow my blog,
  2. like my facebook page and then click on the picture below to get your free copy.


Freebie Fridays

Wednesday, July 17, 2013

DIY: Making My Student Binders

Earlier this month, I posted the cover I use for my student binders - a FREEBIE.  I had such a positive response and requests to show the complete student binder, so I took pictures all along the way as I put them together.  If you are trying to decide whether or not to use binders, let me explain why I feel it an important investment of my time and resources.


First, I want to provide ONE location which holds everything.  When my students pack their book bags, it is too easy to leave something out.  The same is true when they pack their book bag the night before at home.  If their written assignment, completed homework, study cards, notes from parents or teacher, order forms and money are in many possible and different locations, something can be overlooked and even lost.  Instead, this binder system helps the student stay organized by providing a specific labeled location for everything in one location.


Second, I want to provide a place where parents can locate my newsletter regularly. In years past, prior to using this binder system, I would send home our school newsletter as well as my classroom newsletter with weekly papers.  The problem was that the newsletter went home one week out of the month and often parents put weekly papers in different locations, so when they need to refer to the newsletter for info, they have to hunt for it, and sometimes don't find it.  In my binders, I include a clear pocket protector labeled "newsletters" for both school and classroom newsletters.  I have my students slide them in at the beginning of the month, where they stay there until the next month when I had out new ones. 

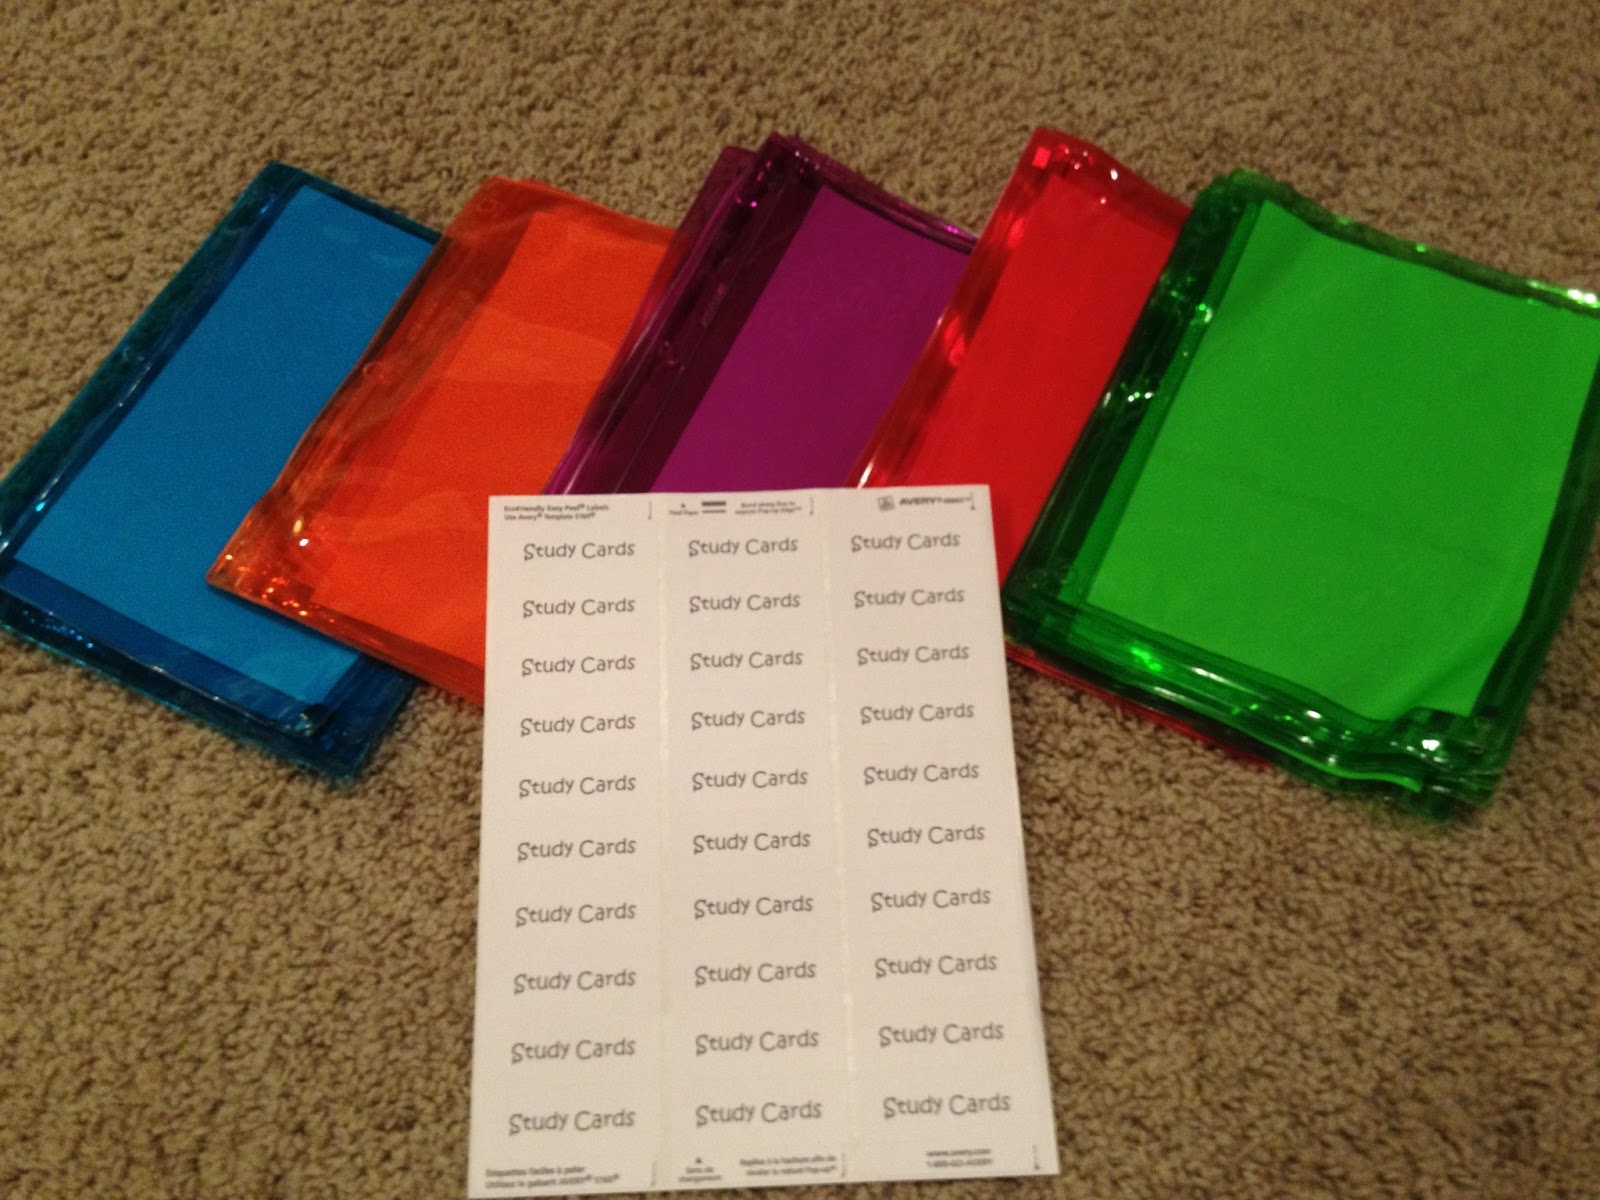
Third, I want to provide a resource location for study cards.  In years past, I would tell students to study their multiplication facts or vocabulary cards, but all too often, they were either left in their desk or at home and eventually lost.  In the binders, I include a clear, zipper pouch where parents can regularly find these resource cards when parents have extra time during the week to review them with their student.  Inside we keep our science or social studies unit vocabulary cards or our multiplication cards.  At the end of the unit, they put them in their weekly folder to go home for good.  Generally, the multiplication cards stay since we work on speed fluency once the facts are mastered. 

Fourth, I needed a specified location to look for notes and money sent to school.  Without a special place designated for money and notes, parents put these important items in various locations (book bag pockets, lunch box, etc.).  I use parent volunteers each morning, to help with checking in homework and other "housekeeping" duties.  Students open their binders first thing and leave them open on their desk until someone checks for notes, money and homework.  For this purpose, I put a label in the very front pocket so it will not be missed. 

Fifth, I want the homework to be done, not on loose paper, but on the paper that is bound in the three rings, not to be removed until the student is back at school.  In the back of the binder I included notebook paper and a pocket for homework handouts.  If homework is in a separate location other than this binder, it is likely that it may be left at home.  In my binders, the agenda (where daily assignments are written) as well as homework handouts and/or notebook paper for homework is kept in the binder.  Except for worksheets, homework is not taken out of the binder.   Worksheets have a labeled pocket as well, in he back.


Now, if I 've persuaded you to take the leap and try binders, keep reading and I'll lead you through it.  Here are the materials you'll need: 
  • 1 1/2 inch binders with clear insert pocket on the outside front (I prepare 24, which includes a few extra for possible new students)
  • lots of notebook paper (maybe 8 packs = one pack per 3 binders)
  • a package of sheet protectors
  • clear zipper pockets that have holes to fit in a three-ring binder.
  • Labels (5 sheets)


1st step: Make copies of your binder cover. 
 I use colored paper since it is more economical that using colored ink.


2nd step: Print all the labels you will need: 
Study Cards
Homework Handouts
Newsletters
Notes/Money


 3rd step:  Attach the front and back pocket labels and add notebook paper.  The "notes/money" label goes on the front inside pocket.  I attach the "Homework Handouts" label on the side of the right pocket, where I can still see the "Homework Handouts" label, after inserting the notebook paper.  


4th step:  Attach "Newsletter" labels to the page protectors and insert into the binder on top of the notebook paper.


Step 5:  Attach "Study Cards" labels to clear zipper pouches and insert them on top of the newsletter. 

I found these in color this year from Wal-Mart for only 47 cents. 


Step 6:  Insert your school's agenda/organizer/assignment notebook
 
Since we don't have this year's agendas until we return to school,
I inserted the one my daughter had from last year to show you where it is located. 
It fits between the zipper pouch and the notebook paper. 


Step 7:  Insert your binder covers.


And...you're done!
 
Click HERE to get your FREE copy of the binder cover page that I use.  You can add your name at year at the bottom. 
 
 
Classroom DIY
 
Blogging tips